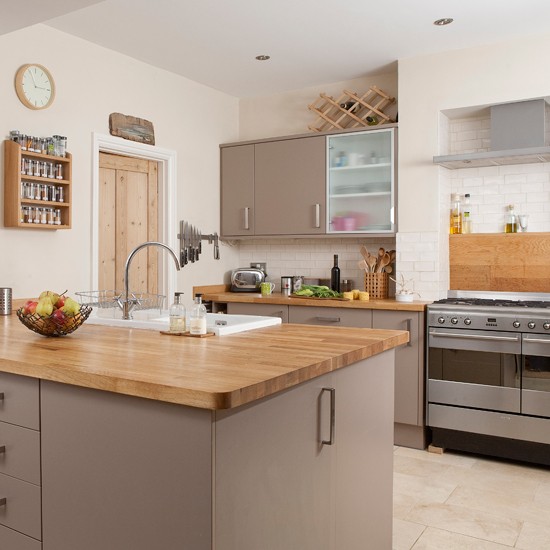
If you are planning to renovate your home's kitchen, then among the most significant decisions you'll ever have to make is determining the type of worktop to choose. Needless to say, the appliances you are about to buy will be big investment but, you can easily replace them at any given time if you don't like them. But things are quite different when it comes to worktops as people have the mindset that they will last for years to come. Because of this, it will be crucial that you look for worktops that are both pleasing to the eyes and functional at the same time.
Better opt for solid kitchen wood Walnut Worktops if you're into beautiful, fairly easy to install and rugged. Rest assure that you are going to find lots of shades of colours that come with natural products whether you opt for a plank style, classic butcher block style or an edge grain. Not only that, you can also be certain that what you have in your kitchen is completely unique since no two pieces of woods have similar grain structures.
And when it comes to the subject of wood worktop installation, it is so important to bear in mind that you work with flexible piece of material not like granite worktops which aren't expanding and contracting with the changes in its atmospheric conditions, the wood would have natural movement as time pass by. It is essential to let slight movement while securing your worktops to its subsurface as a result.
This is usually carried out with a 100 percent silicone that has an exceptional quality. Keep in mind to avoid cutting corners in adhesive. While it is true that you will be able to save several bucks by buying subpar silicon, you'll likely to fork out more cash in the end sooner or later.
For the installation of your European Walnut Worktops, the first thing that should be done is cleaning the surface top. Alcohol is the best cleaning agent in removing dirt and errant contamination from the construction process.
After that, on the edges of lower cabinets, be sure to apply a bead of silicone. This should be around 6 millimetre and once you're done, simply lay the top straight down on silicone and give it a slight side to side motion, which will guarantee a tight bond. Always remember to apply the silicon on both surfaces.
Lastly, screw the corners of the kitchen wood worktop on the subsurface but must be able to allow contraction and expansion. In order to get this done, drill holes to the subsurface approximately 4x bigger than the screw diameter and apply the screw with solid washer.